- September 12, 2024
- Posted by: Justin Pauling
- Category: Uncategorized
Landscaping is more than just arranging plants and installing hardscapes; it’s about creating an outdoor sanctuary where you can relax, entertain, and connect with nature. Whether you’re revamping an existing backyard or starting from scratch, the landscape installation process can be daunting. However, with a well-thought-out plan and some expert guidance, you can transform your yard into a stunning oasis.
We’ll walk you through every step of the landscape installation process—from initial planning to the final touches. This comprehensive guide will provide you with all the tools and tips you need to bring your landscape vision to life. If you’re looking for inspiration, check out unveiling the power of 3D design in landscaping to explore how modern technology can enhance your project.
Step 1: Getting Started with Your Landscape Design
Before diving into the physical work, it’s crucial to have a detailed plan in place. Start by assessing your outdoor space and determining your landscaping goals. Ask yourself:
- What is the purpose of my outdoor space? (e.g., relaxation, entertaining, gardening)
- What features do I want to include? (e.g., patio, fire pit, water features)
- What is my budget for this project?
- What is my timeframe?
With these questions in mind, sketch out a basic layout or consult with a professional landscape designer. Having a clear vision will make the installation process smoother and ensure that every element of your landscape works harmoniously together.
Step 2: Site Preparation
Site preparation is the foundation of any successful landscaping project. This stage involves clearing out debris, leveling the ground, and preparing the soil. Here’s what you need to do:
- Clear the Area: Remove any unwanted plants, rocks, and debris. If there are existing plants you want to keep, consider transplanting them to another part of your yard.
- Level the Ground: Ensure that your yard is level or has the appropriate grading for drainage. This is the time to fill in any low spots or grade slopes if necessary.
- Prepare the Soil: Different plants require different soil conditions. Incorporate compost or soil amendments to ensure that your plants thrive in their new environment.
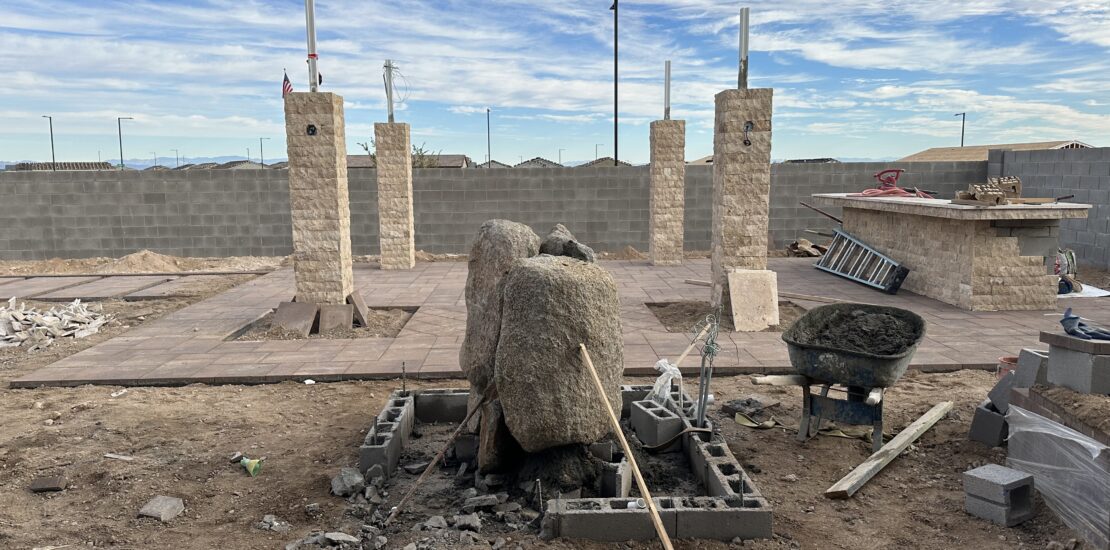
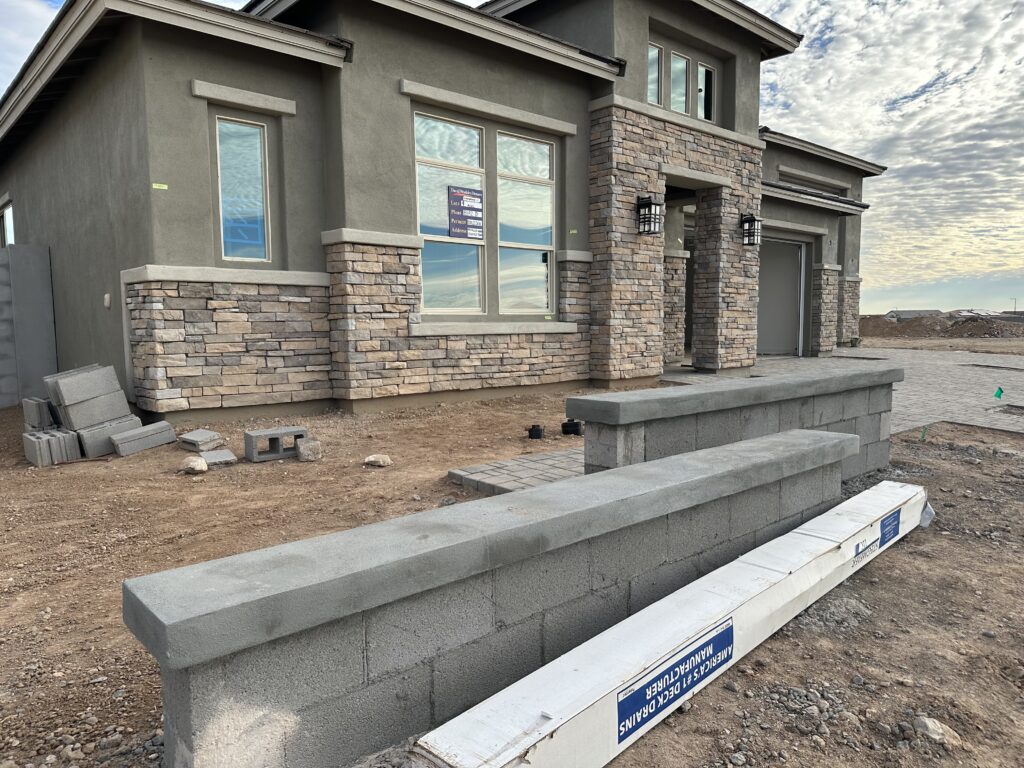
Step 3: Construction of Hardscape Features
Once your site is prepared, it’s time to focus on the hardscape elements of your landscape. Hardscapes include features like patios, decks, walkways, and retaining walls. Installing these before planting ensures that your plants won’t be disturbed later. Here’s how to approach this step:
- Plan and Mark: Use your design plan to mark out the areas where hardscapes will be installed.
- Build Structures: Depending on your design, you may need to install patios, decks, or retaining walls. This may involve hiring a contractor for more complex features.
- Install Lighting and Irrigation: Now is the best time to lay the groundwork for your landscape lighting and irrigation system to avoid disturbing your plants later.
Step 4: Plant Installation
With the hardscapes in place, it’s time to add life to your landscape by planting trees, shrubs, flowers, and grass. Proper plant placement and soil preparation are key to ensuring that your landscape thrives. Follow these steps for successful planting:
- Position Plants: Arrange your plants in their designated spots according to your layout. This step allows you to make adjustments before digging.
- Planting: Dig holes twice as wide as the root ball or container and just as deep. Place the plant in the hole and fill it in with soil, gently tamping it down to remove air pockets.
- Water and Mulch: After planting, water your plants deeply to help them establish roots. Add mulch around the base of your plants to retain moisture and suppress weeds.
Step 5: Finishing Touches
The final stage of landscape installation involves adding the finishing touches that make your outdoor space unique and inviting. Here are a few ideas:
- Decorate: Add outdoor furniture, backyard ornaments, and decorative pots to create a welcoming atmosphere.
- Mulch and Edge: Mulching around plants and along backyard beds adds a polished look and helps with moisture retention. Use edging materials to define backyard beds and walkways.
- Final Walkthrough: Check that all systems, like irrigation and lighting, are functioning correctly. Make any necessary adjustments to ensure everything is perfect.
Bringing Your Landscape Vision to Life
Creating a stunning and functional outdoor space is an exciting journey that begins with a well-thought-out plan and attention to detail. By following the right steps, you can achieve a landscape that not only meets your needs but also enhances the beauty of your surroundings for years to come. Ready to bring your vision to life? Contact Kevens Landscape today at 623-535-7654 or visit us our contact form to start your consultation. Our expert team is here to guide you every step of the way, ensuring your outdoor dreams become a reality. Let’s get started!